

Every website has its own needs. That's why you can choose your own server when you turn on web hosting. Don't want to choose? Then we pick one for you.
We pick one for you
By default, we choose the server with the fewest users. That keeps things fast. For most websites, that's all you need. But it isn't always the best fit for what your website needs.
Which server should you choose?
We have two kinds of servers. The list in your dashboard shows what each server offers.
- LiteSpeed and Redis: for speed. These servers make your website load faster, for example a WordPress website. They only run newer PHP versions. Redis isn't included with every plan. Here's how to set up LiteSpeed and Redis in WordPress.
- CloudLinux and Apache: with Node.js, Python and all PHP versions, older ones too. Does your website need one of those? Then choose one of these servers. Read the best servers for Python and Node.js apps.
Several plans? Then put your websites on different servers. If one server has a problem, your other websites keep running.
Choose your server
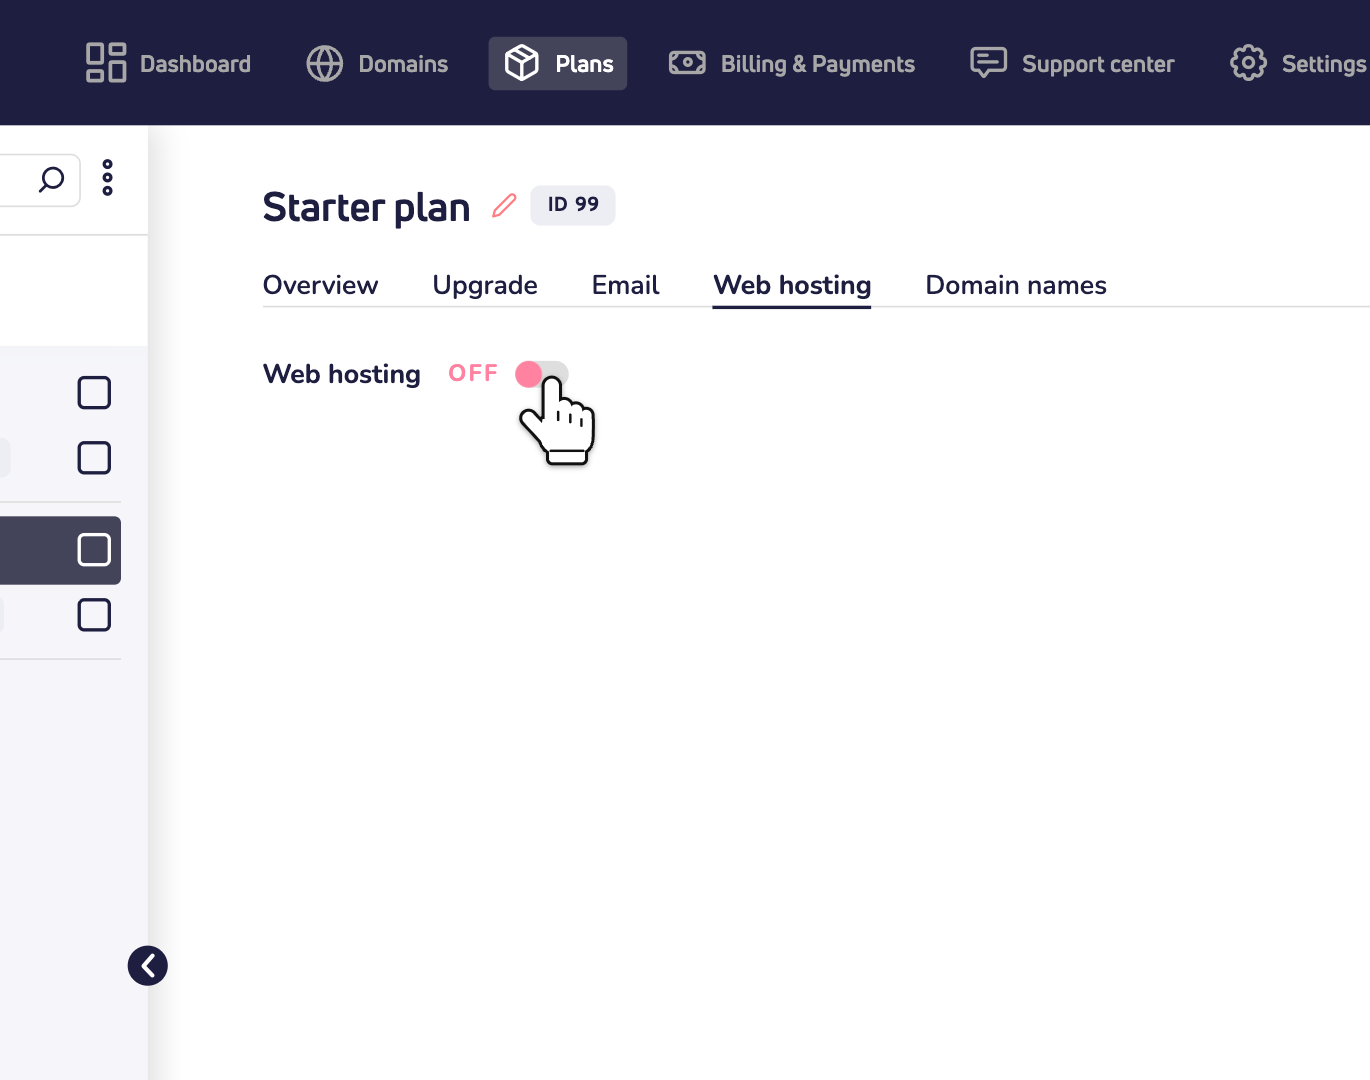
Step 1: Click Plans and open your plan. On the Web hosting tab, click the switch to turn on web hosting.
Step 2: Choose the control panel you want to use. Then untick Automatically choose the best web hosting server for me.
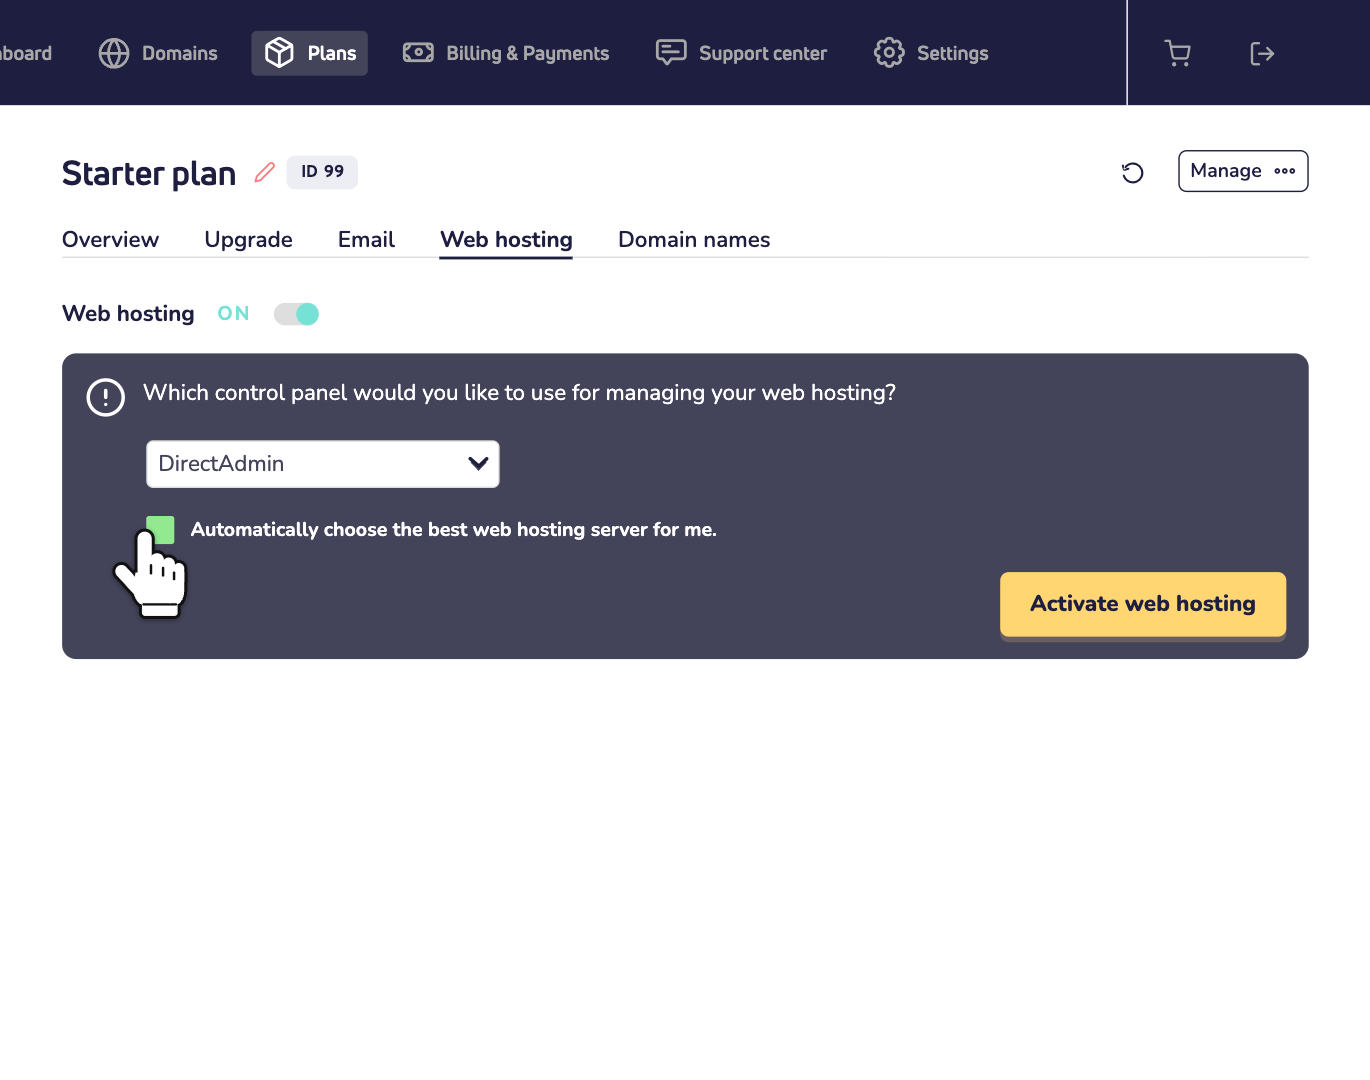
Step 3: A list of servers appears. Check the information next to each server and pick the one that fits your website.
Step 4: Click Activate web hosting. Your website is then hosted on the server you chose.
Good to know
- Not sure? Leave the box ticked. We then pick a server for you.
- You choose once. The server is set when you turn on web hosting. Moving later means turning web hosting off and on again, and that deletes everything in your web hosting account. Read what resetting a web hosting account does.
- Web hosting on? Then log in to your control panel. Read how to log in to DirectAdmin.